Fine Jewelry Photography: Details That Communicate Value
May 31, 2026

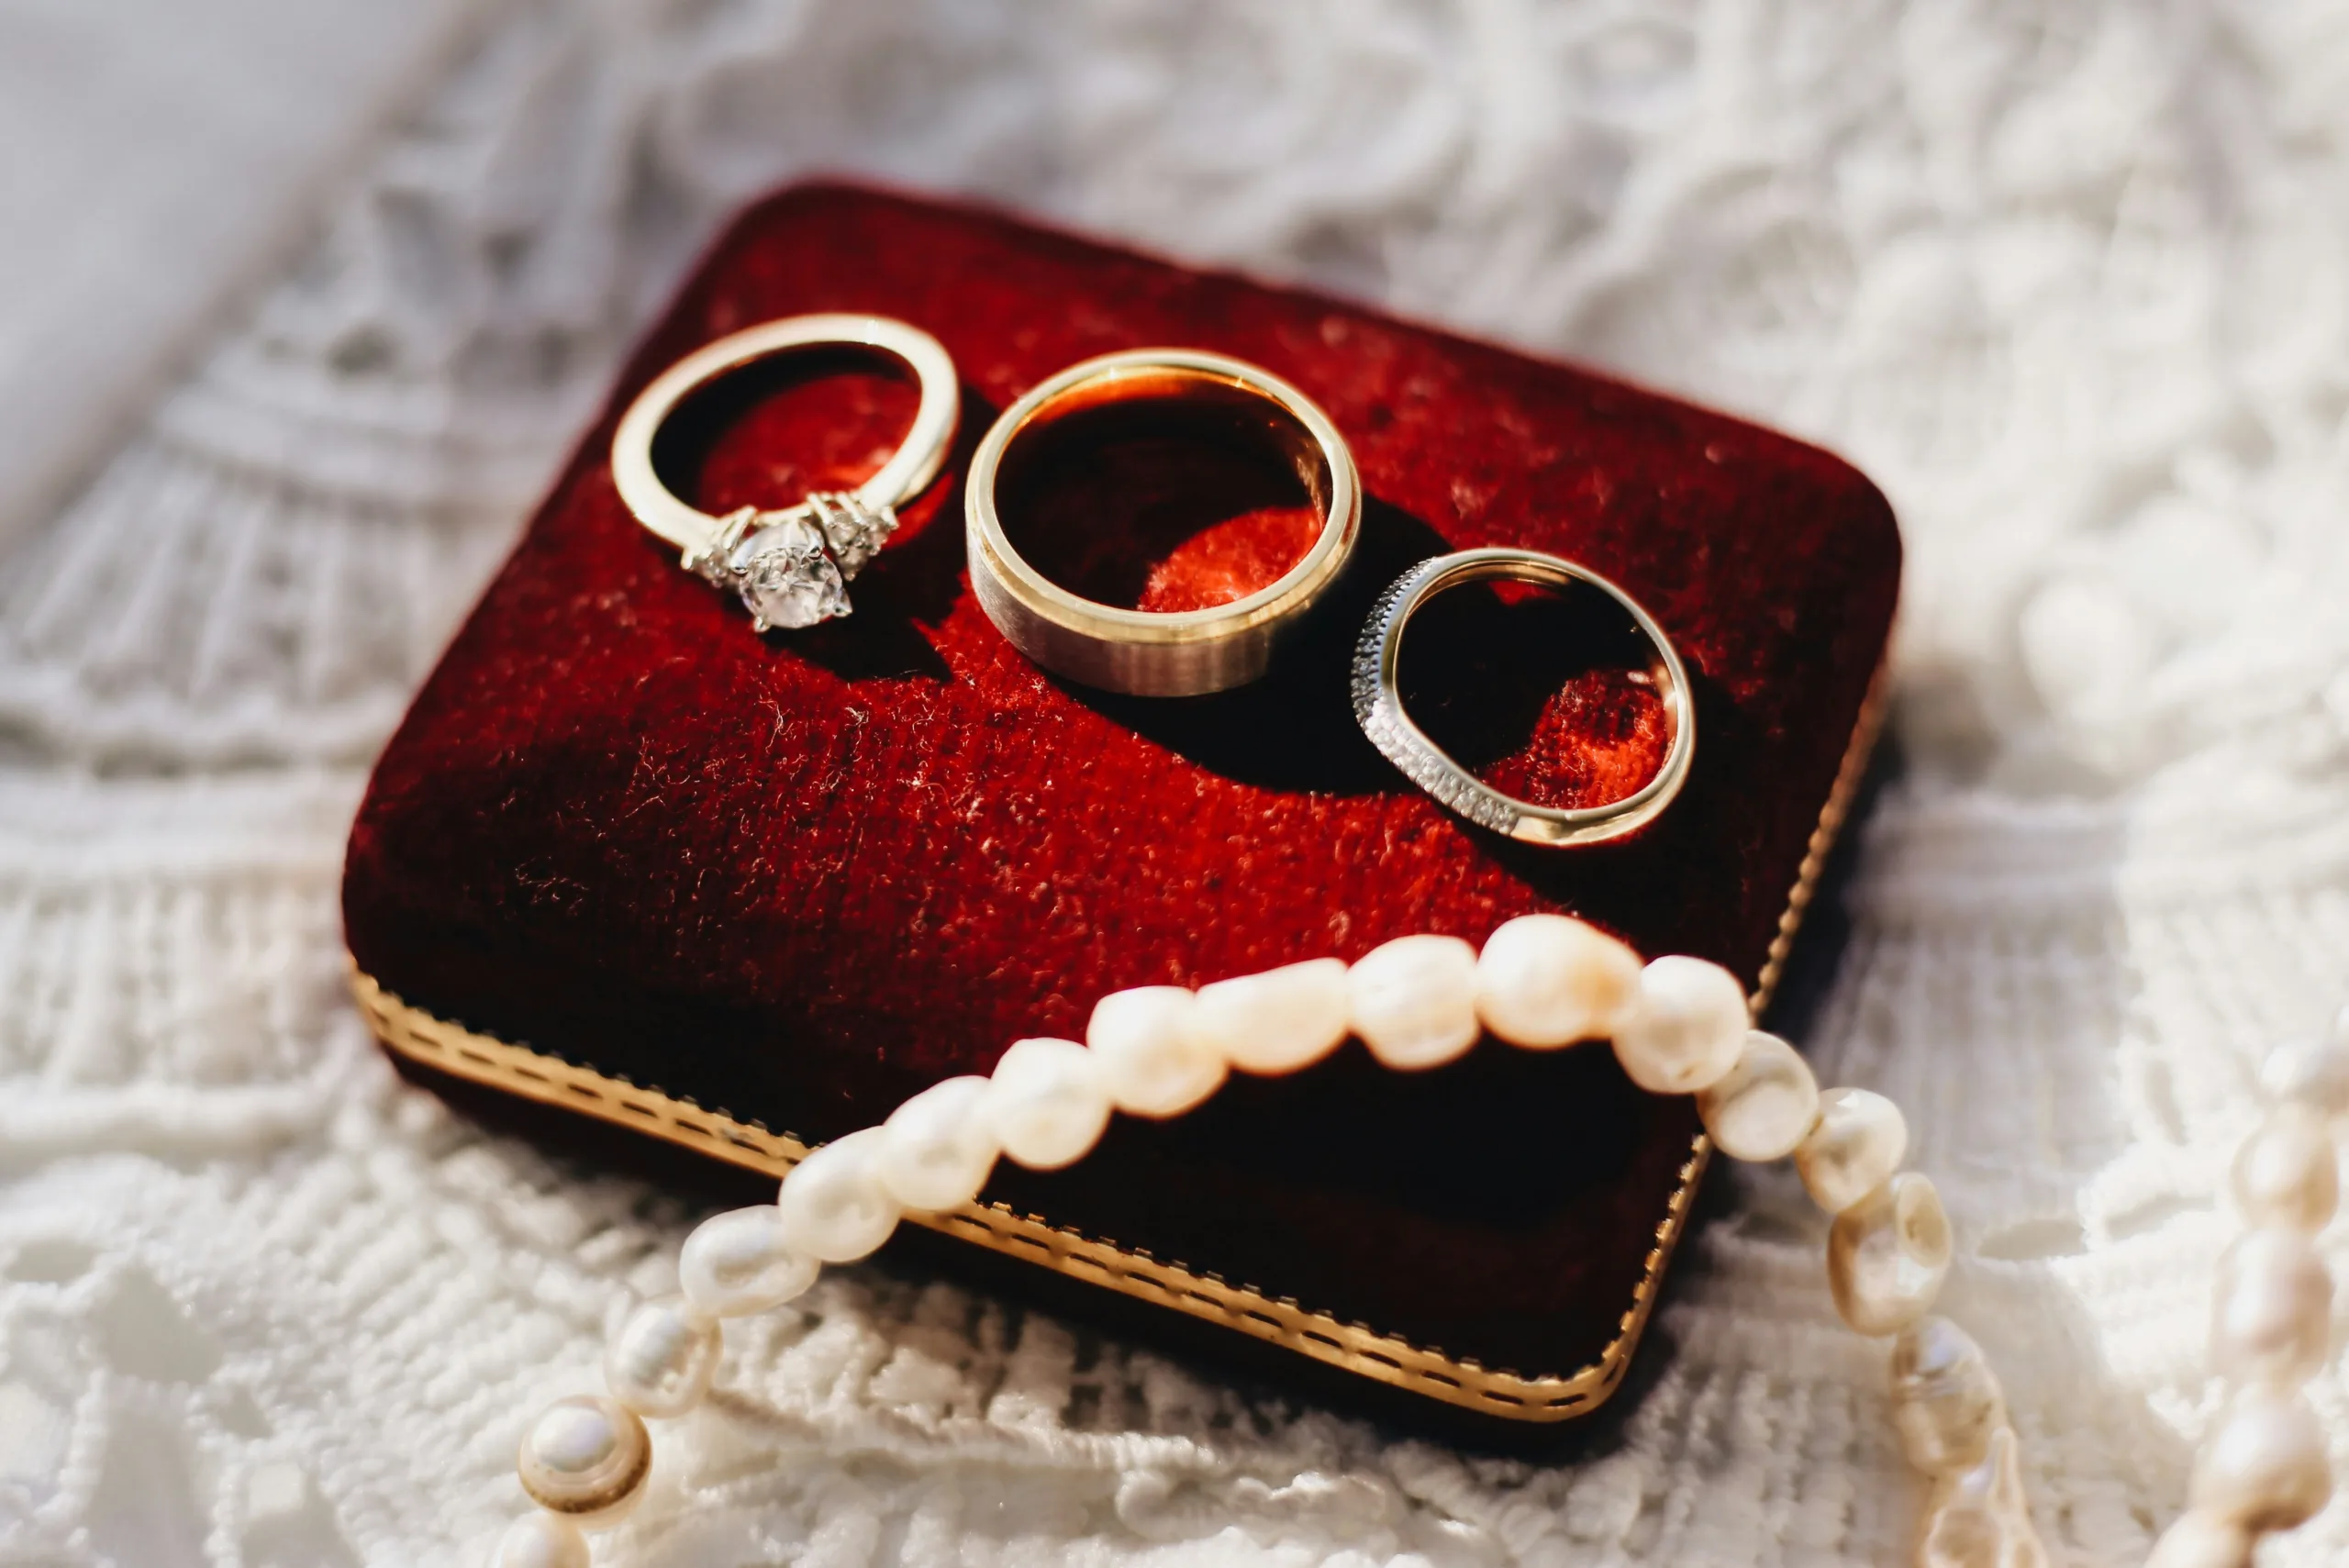
So, you’ve got some stunning fine jewelry and you want to capture its brilliance in photos? That’s smart. The truth is, great photos of fine jewelry aren’t just about making them look pretty; they’re about showing off the craftsmanship, the materials, and ultimately, the value. Think of your images as silent salespeople – they need to tell a compelling story that resonates with potential buyers, making them feel like they’re holding something truly special.
When we talk about fine jewelry photography, it’s not just about pointing a camera and clicking. It’s about understanding what makes that piece tick – what are its best features? What’s the story behind it? Your photos need to communicate all of this, drawing people in and making them imagine themselves wearing it. Let’s dive into how to make that happen.
Lighting is probably the single biggest factor in fine jewelry photography. It dictates how the metal gleams, how the stones sparkle, and the overall mood of the image. Getting it right is crucial for communicating that sense of luxury and quality.
Understanding Reflected Light vs. Direct Light
Think about light hitting a polished surface, like gold or platinum. Direct light can create harsh, blown-out reflections that hide texture and detail. Reflected light, on the other hand, bounces off surfaces and provides a softer, more even illumination that wraps around the jewelry, highlighting its form and subtle nuances.
Softboxes and Diffusers: Your Best Friends
For fine jewelry, you generally want soft, diffused light. This is where softboxes and diffusers come in. They spread out the light source, creating a more uniform and flattering illumination. Imagine a cloudy day – the light is beautiful and even. Softboxes and diffusers mimic that effect. They minimize harsh highlights and deep shadows, allowing the viewer to see the details of the metalwork and the facets of the gemstones.
Using Natural Light Wisely
While artificial lighting offers control, don’t underestimate natural light. A window on an overcast day is a fantastic, free diffuser. Position your jewelry near the window, but avoid direct sunlight, which is too harsh. You might still need to use a reflector to bounce some light back into the shadows.
Avoiding Glare and Unwanted Reflections
Glare is the enemy of fine jewelry photography. It obscures details and makes the piece look less valuable. This is a constant battle, and it’s where careful positioning of your lights and the jewelry itself becomes critical.
The Importance of Angles and Positioning
Experiment with the angles of your lights. Sometimes moving a light just a few inches can completely change how a stone sparkles or how a metallic surface reflects. Think about where the light source is coming from relative to the camera and the jewelry. You’re looking for that sweet spot where the brilliance of the stones is accentuated without overwhelming the image with pure white.
Using Polarizing Filters
A polarizing filter for your camera lens can be a game-changer. It helps to eliminate or reduce unwanted reflections from shiny surfaces like metal and gemstones. It’s like putting on sunglasses for your camera, cutting down on glare and allowing you to see the true colors and textures of the jewelry beneath the surface reflections.
Capturing the Sparkle: Gemstone Illumination
Gemstones are designed to catch and reflect light, so making them sparkle is a key goal. However, there’s a fine line between a captivating sparkle and an overexposed white blob.
The Dance of Facets
Each facet of a gemstone is a tiny mirror. The way light interacts with these facets creates the sparkle, the fire, and the brilliance. Your lighting setup needs to encourage this interaction without washing it out.
Finding the “Sweet Spot” for Sparkle
This often involves backlighting or side lighting, which can make the light travel through the stone and reflect off the back facets, creating that coveted sparkle. It’s a delicate balance; too much light and you lose the color and depth, too little and the stone looks dull.
Revealing True Colors and Clarity
Beyond sparkle, the color and clarity of a gemstone are paramount. Poor lighting can make a vibrant stone look muted or introduce color casts that are inaccurate.
Color Accuracy and White Balance
Ensuring accurate color representation is vital. This means having a proper white balance. Using a grey card or a color checker in your shots can help you correct problematic color casts in post-processing. If your white balance is off, your blue sapphire might look greenish, or your diamond might appear too yellow.
Showcasing Inclusions (When Appropriate)
For some gemstones, particularly those with natural inclusions, showing them can actually add to the perceived value and uniqueness, suggesting natural origin rather than synthetic creation. However, overexposure can turn these unique inclusions into distracting white spots. Diffused lighting helps to reveal them with subtlety.
Material Matters: Highlighting Metal and Texture
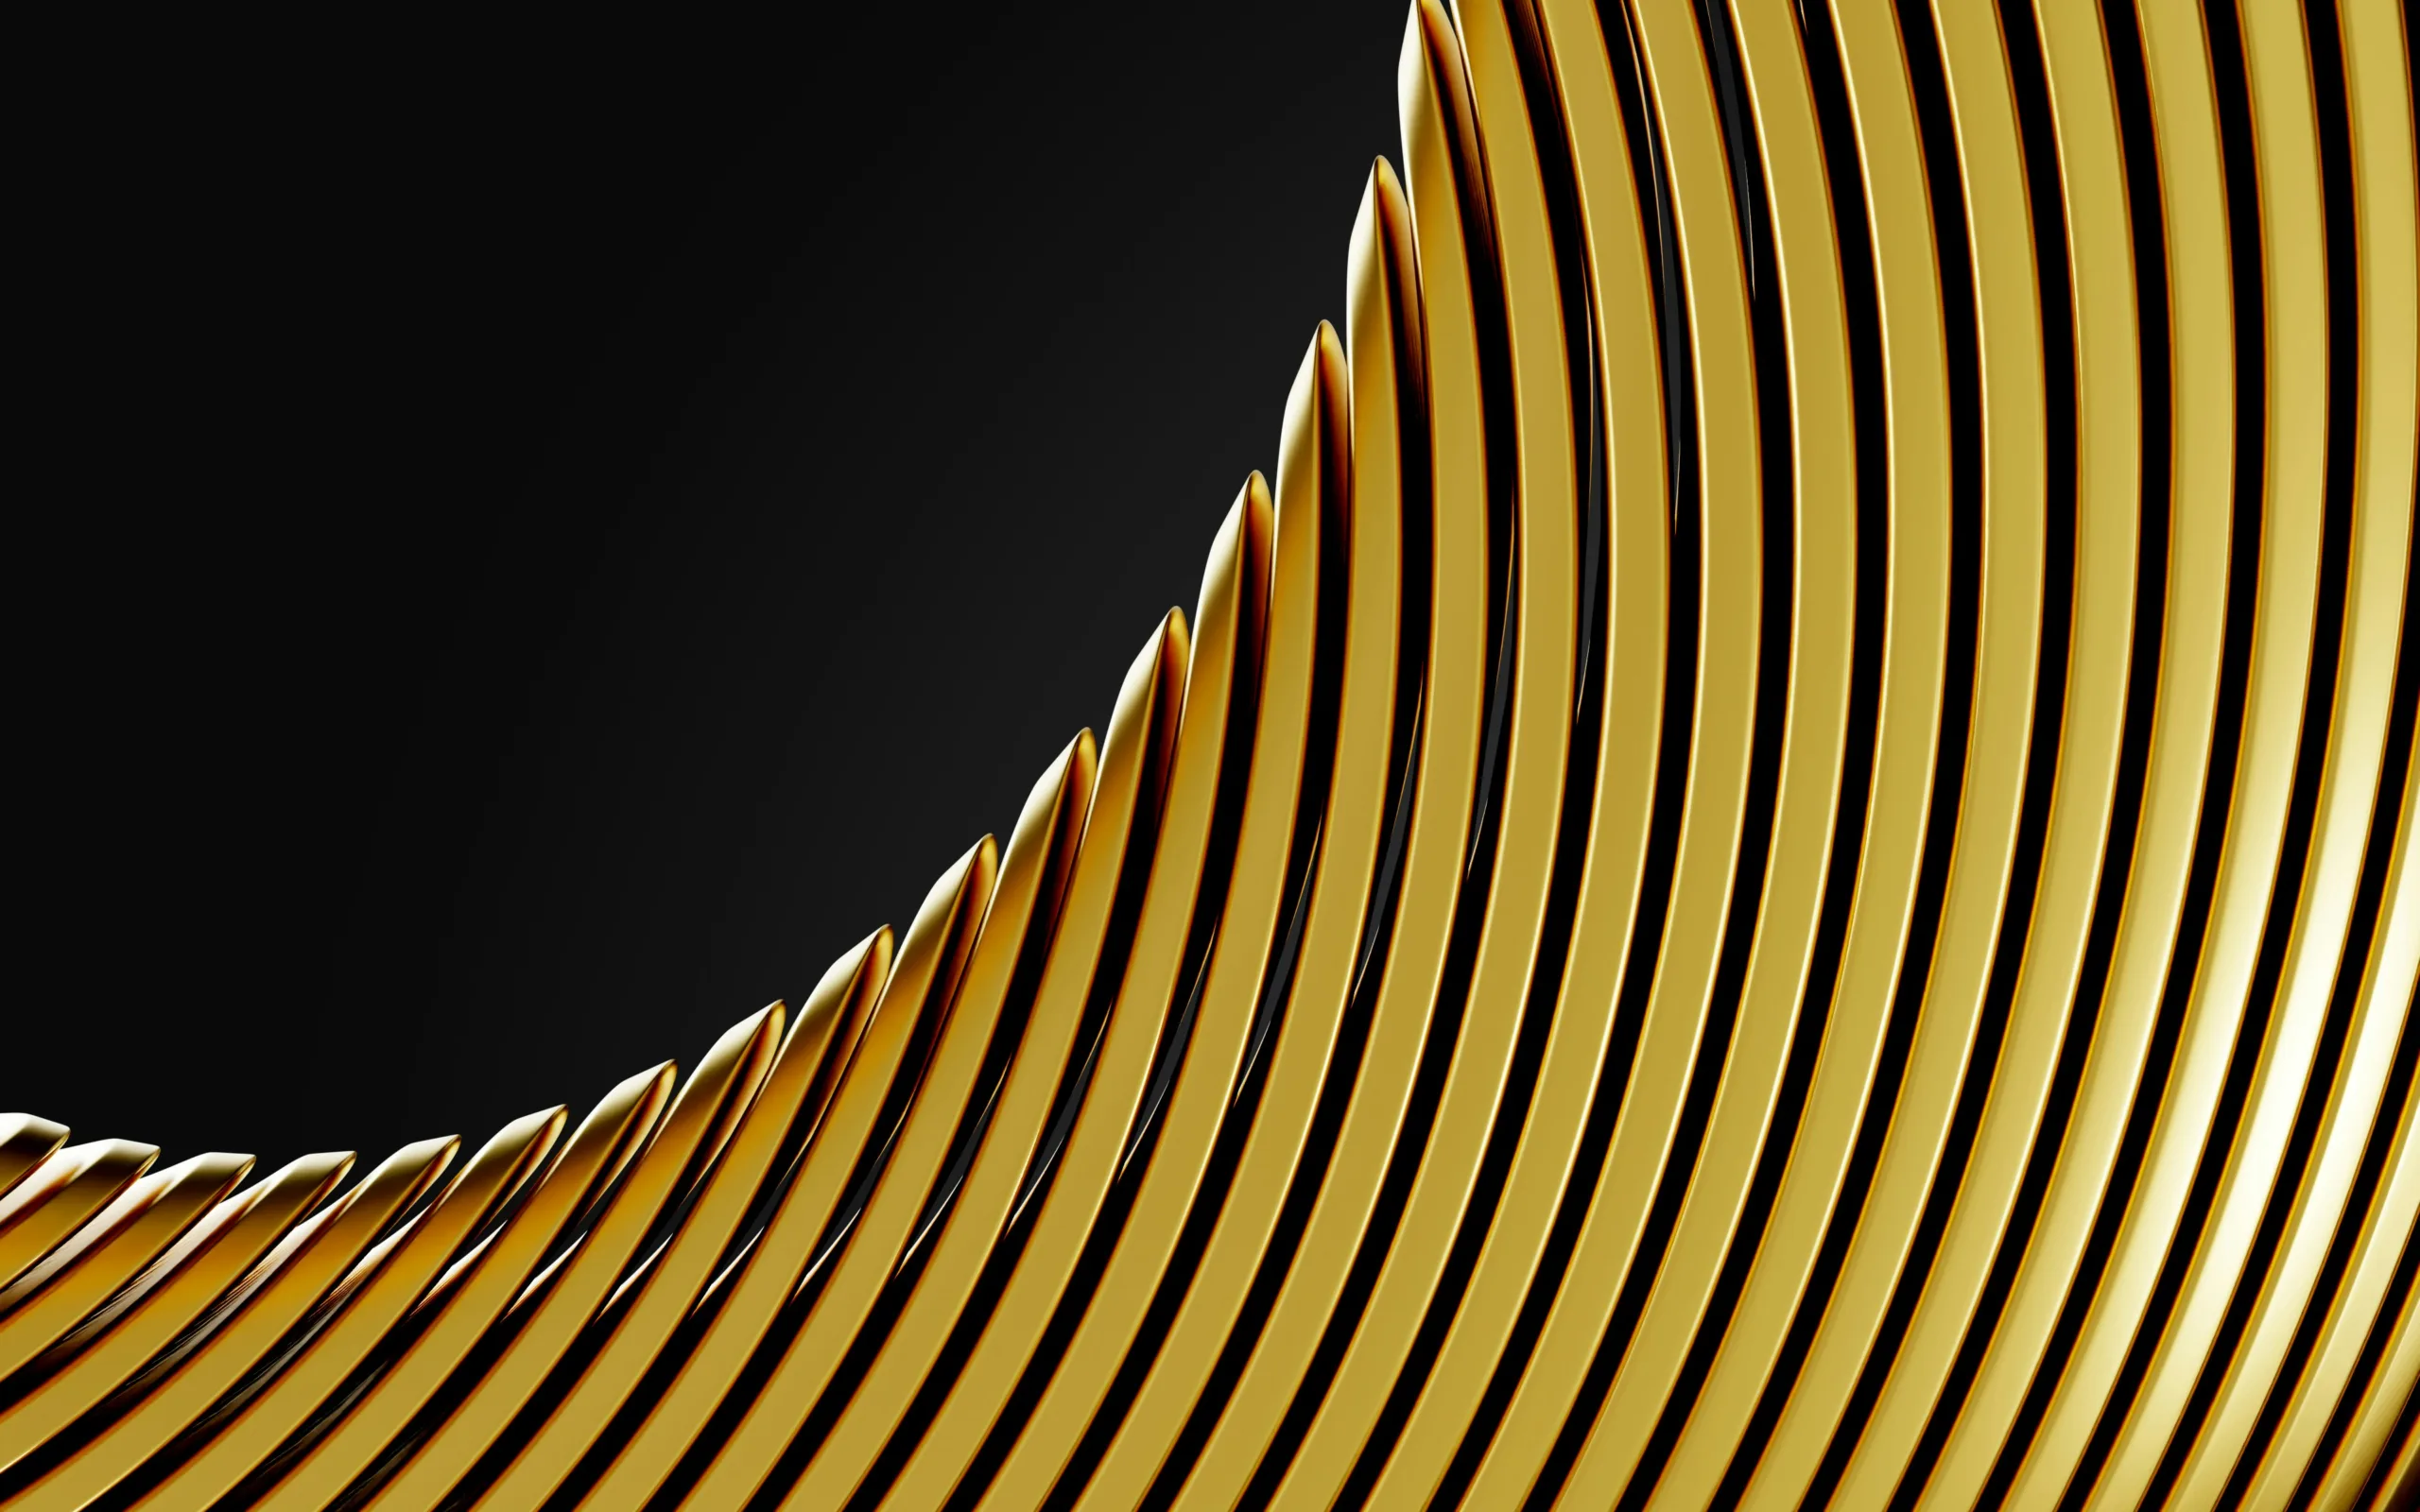
The precious metals used in fine jewelry – gold, platinum, silver – have their own unique qualities that need to be showcased. Their luster, texture, and color all contribute to the perceived value of the piece.
The Lustre of Precious Metals
Gold, silver, and platinum have a distinct sheen. The way light plays on these surfaces is what gives them their luxurious appeal.
Polished vs. Brushed Finishes
A polished finish will have bright, sharp highlights. A brushed or hammered finish will have a more diffused, textured look. Your lighting needs to adapt to these different finishes.
Lighting for Polished Surfaces
For polished metal, you’re aiming for a controlled reflection. Think of it like photographing a mirror. You want to see the form of the jewelry reflected in the polished surface, not just a blank white glare. This often involves using large, soft light sources that create broader, softer reflections. You might even use black cards to ‘cut’ reflections and define the edges of the metal.
Lighting for Textured Surfaces
Textured finishes, like hammered or brushed metal, require a different approach. You want to highlight the texture itself. This might involve a slightly more directional light source to cast subtle shadows that emphasize the contours and imperfections of the texture.
Intricate Craftsmanship and Detail
Fine jewelry often involves incredibly detailed craftsmanship: delicate filigree, hand-engraved patterns, intricate settings. These details are what differentiate mass-produced items from artisanal pieces.
Macro Photography: The Devil is in the Details
To truly communicate the value of detailed craftsmanship, you often need to get up close. Macro photography allows you to capture these minute details that might be missed in a wider shot.
Focusing on Handiwork
When shooting close-ups, focus on showcasing the precision of the work. If there’s hand engraving, make sure the lines are crisp. If the settings are bezel-set, show how neatly they conform to the stone. These are often the things that a seasoned buyer looks for.
Showing the Strength of Settings
The way a gemstone is set is crucial for both security and aesthetics. Macro shots can reveal the integrity of the claw setting, the snugness of a bezel, or the uniformity of pavé settings. This speaks to the quality of the piece and its durability.
Composition and Context: Telling the Story
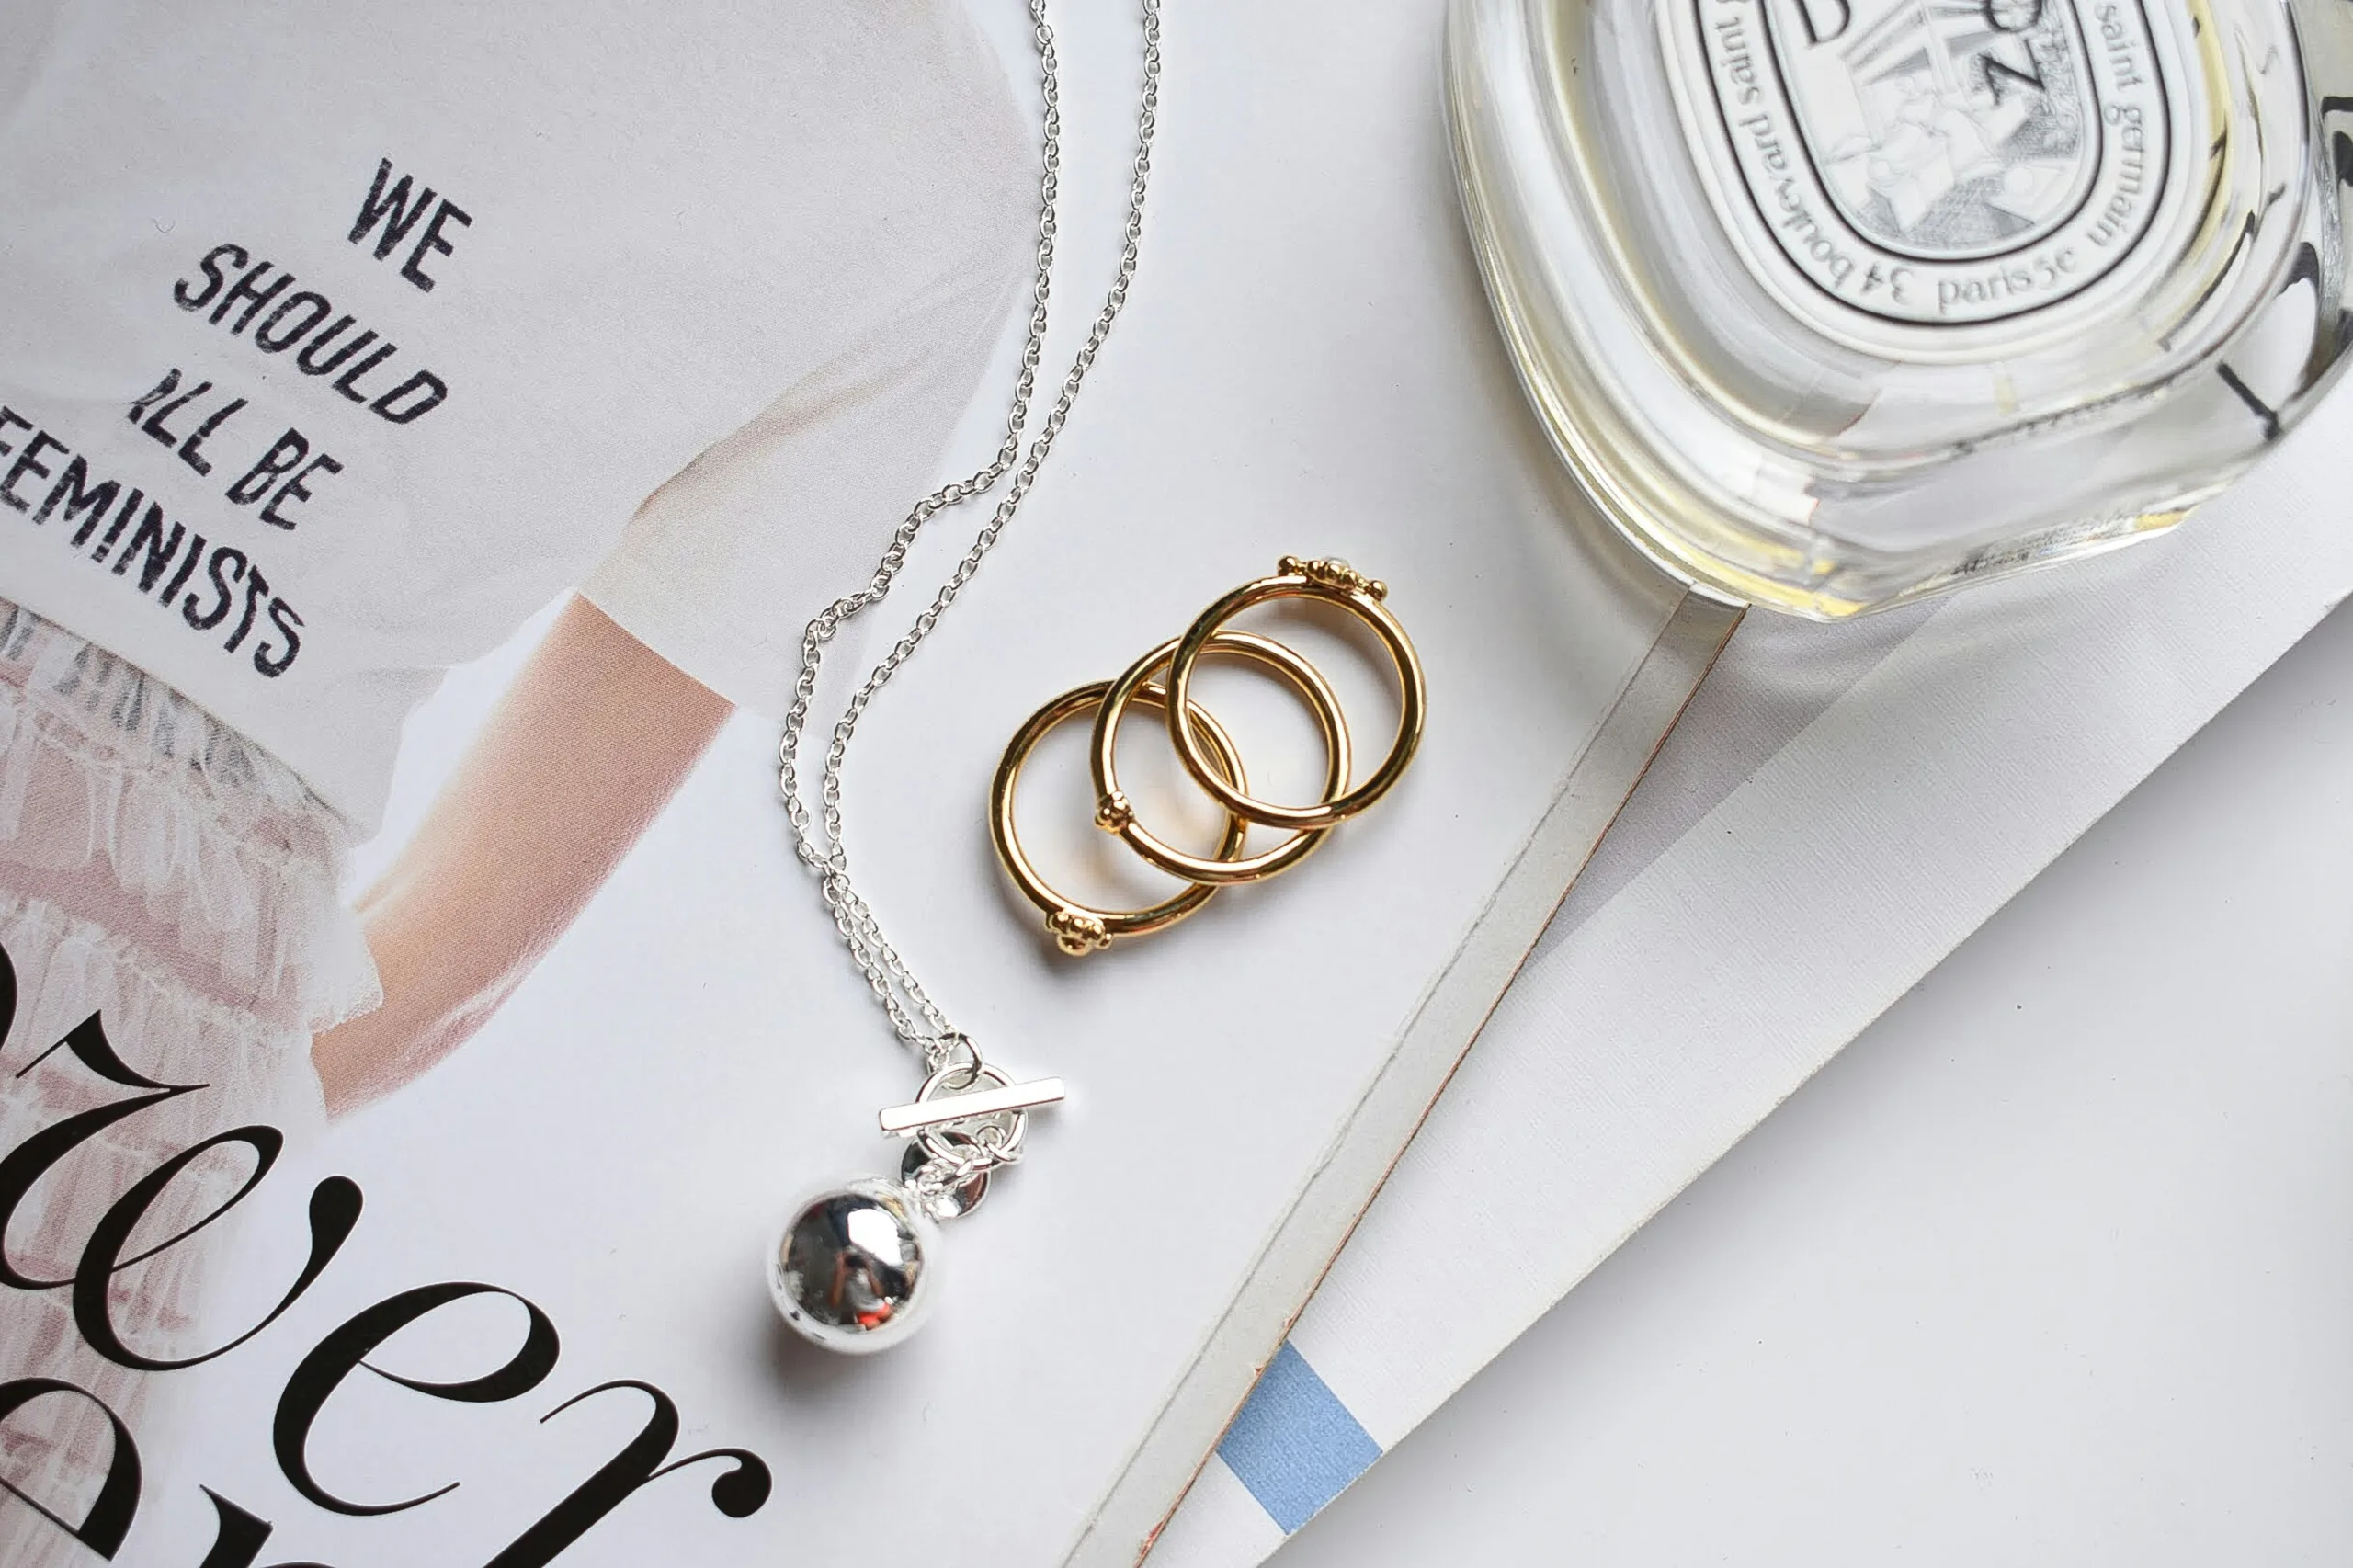
Beyond the technical aspects of lighting and focus, how you compose your shots and the context you provide are essential for communicating value. A well-composed image with the right background can elevate a piece of jewelry from a simple product to a desirable luxury item.
The Power of a Clean Background
For fine jewelry, a clean, uncluttered background is almost always the best choice. It keeps the focus squarely on the piece itself.
Simplicity Enhances the Subject
Busy backgrounds are distracting. They pull the viewer’s eye away from the jewelry and can make it appear less important. A neutral background, whether it’s paper, fabric, or a subtly textured surface, allows the jewelry to shine.
White, Grey, and Black: Classic Choices
White backgrounds are standard for e-commerce, offering a clean, bright look. Grey offers a slightly softer, more sophisticated feel. Black backgrounds can add drama and make lighter colored gems and metals pop. The key is that the background doesn’t compete with the jewelry.
Seamless Backgrounds for a Professional Look
A seamless transition from the jewelry to the background creates a polished, professional look. This can be achieved with curved backgrounds or by using a large sheet of seamless paper.
Avoiding Shadows and Distortions
While a clean background is good, you also need to ensure that shadows cast by the jewelry are handled artfully. Unwanted, harsh shadows can make the piece look heavy or ill-lit. Similarly, ensure the background doesn’t distort the perceived shape or scale of the jewelry.
Showing Scale and Wearability
People want to know how a piece will look when worn. This is where lifestyle shots and context become important.
Lifestyle Photography: The Dream Scenario
Lifestyle shots, where the jewelry is worn by a model, are incredibly effective at communicating wearability and desirability. They allow potential buyers to envision themselves wearing the piece.
Subtle and Elegant Modeling
When using models, the focus should remain on the jewelry. This means subtle hand gestures, elegant necklines, and minimal distractions. The model’s role is to enhance the jewelry, not to overpower it.
Capturing the Movement and Glimmer
A well-executed lifestyle shot can capture how a necklace drapes, how earrings move with the wearer, or how a ring catches the light on a hand. This dynamism is something static product shots can’t fully replicate.
Scale References for Online Viewers
For online sales, especially, providing a sense of scale is crucial. If a ring is very delicate, show it on a finger. If a pendant is large, show it on a neckline.
Using Hands and Other Props
Hands are a common and effective way to show the scale of rings and bracelets. For earrings or necklaces, a hint of the collarbone or shoulder can help. Consider other subtle props that convey luxury without being distracting.


Focus and Sharpness: The Critical Details
In fine jewelry photography, every detail must be sharp and in focus. A soft or blurry image, even if beautifully lit, will undermine the sense of quality and precision that fine jewelry represents.
Achieving Pin-Sharp Focus
The centerpiece of any jewelry photograph should be critically sharp. This applies to both the metalwork and any gemstones.
Understanding Depth of Field
Depth of field refers to the zone of sharpness in your image. For jewelry, you often want a relatively shallow depth of field to isolate the subject against the background, but the subject itself needs to be sharp throughout.
Focusing on the Key Element
Identify the most important part of the jewelry – often the largest stone, the clasp, or a key design element – and ensure that it is perfectly in focus.
Using Tripods and Remote Shutter Releases
Camera shake is the enemy of sharpness. Always use a stable tripod for your jewelry shots. A remote shutter release or your camera’s self-timer will prevent any vibrations from your hand pressing the button.
High-Resolution Files for Maximum Detail
When you’re selling fine jewelry, your clients expect to be able to zoom in and examine every facet. This means you need to be shooting in high resolution.
The Importance of Megapixels and File Format
A higher megapixel count allows for greater detail and cropping flexibility. Shooting in RAW format captures the maximum amount of image data, giving you more latitude in post-production for adjustments like color correction and exposure.
Upscaling vs. Native Resolution
While some software can upscale images, it’s always better to have a high-resolution original. Trying to blow up a low-resolution image will result in pixelation and a loss of detail.
Post-Processing: Refining the Diamond in the Rough
Even with the best lighting and composition, post-processing is an essential step in fine jewelry photography. It’s where you polish the image, ensuring it accurately reflects the beauty and value of the piece.
Color Correction and White Balance
Ensuring accurate color is paramount. This is where you fix any color casts and make sure the metal and stones look exactly as they do in real life (or even better, within reason).
Achieving True Metal Tones
Gold, particularly yellow gold, can be tricky to photograph accurately. Overexposure can make it look brassy, while incorrect white balance can cast unwanted hues. Careful adjustment in post will bring out that rich, warm tone.
Matching Gemstone Colors
Similarly, gemstone colors need to be spot-on. A vibrant emerald should look green, a sapphire should look blue. This involves fine-tuning saturation and hue sliders.
Sharpening and Noise Reduction
Once colors and exposure are correct, you’ll want to selectively sharpen your image to enhance details and reduce any digital noise that might have crept in, especially in darker areas.
Selective Sharpening to Enhance Brilliance
Apply sharpening carefully, focusing on edges and textures where it will make the most impact. Over-sharpening can create artificial halos and detract from the natural look.
Managing Noise in Dark Areas
If you’ve had to shoot with higher ISO settings in low light, you might have some digital noise. Noise reduction tools can help clean this up without making the image look too smooth or artificial.
Cropping and Final Touches for Impact
The final crop of your image can dramatically improve its impact and composition. Think about how the image will be used – for a website banner, an Instagram post, or a product listing.
Optimizing for Different Platforms
Different platforms have different aspect ratio requirements. Cropping your image to fit these needs while maintaining a strong composition is key.
Removing Dust and Imperfections (Ethically)
Occasionally, you might have a tiny speck of dust or a minor imperfection that can be easily removed in post-processing. However, it’s important not to misrepresent the jewelry. These are minor cosmetic fixes, not fundamental alterations.
By paying attention to these details, from the initial lighting setup to the final adjustments in post-processing, you can create fine jewelry photographs that don’t just show a product, but communicate its inherent value, craftsmanship, and allure. These images are the gateway to your jewelry’s story, and ensuring they tell the right story is where the real magic happens.